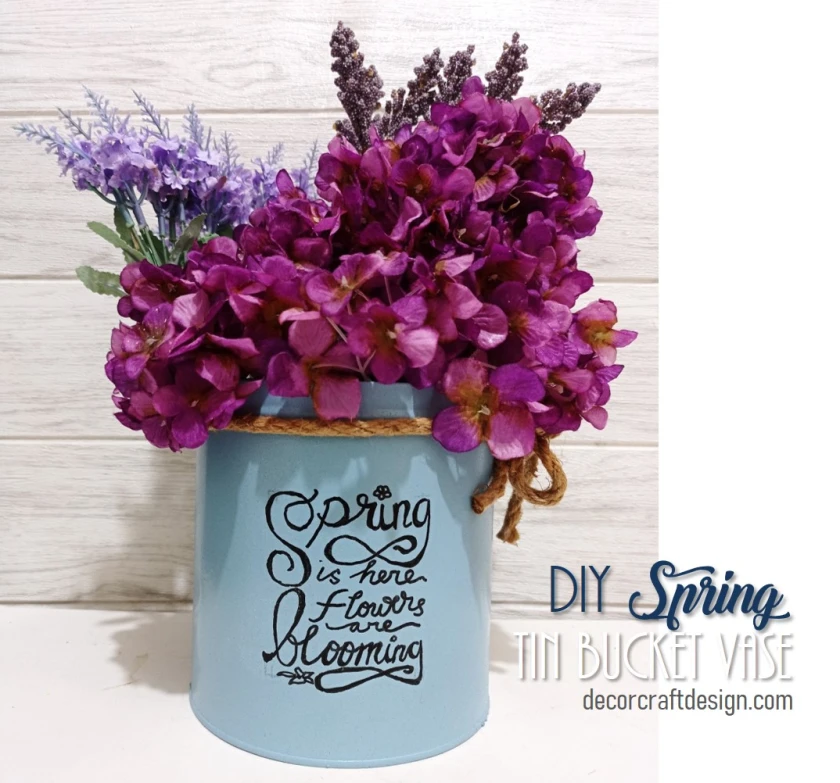
I love to make project which involves typography because I enjoy looking at it and I think it add values. Let say a plain tray compared to a tray with some writings, I’m sure each will have its beauty but the tray with the writings will speak more. As I explain before in my previews project, Upcycled Tin Can Vase Holder; “Typography is the art and technique of arranging type to make written language legible, readable and appealing when displayed. The arrangement of type involves selecting typefaces, point sizes, line lengths, line spacing, letter spacing, and spaces between pairs of letters.” (Wikipedia). Now, I made another typography DIY Spring decoration, which is DIY Spring Tin Bucket Vase.

Things To Prepare
I’m sure you can get a tin bucket easily, whether is a vintage tin bucket, cookie’s tin or others. Try to replace it with something similar to my materials if you don’t have the same one. Just use whatever you have at home like I always do. Use more recycled things and use some scraps from previous projects. I guess that’s one of a best way to be sustainable. Let’s see what are the list of supplies for this DIY Spring Tin Bucket Vase:
- tin bucket ( I use a cookie’s tin)
- Jute rope (thick)
- White paint
- Blue paint
- Black acrylic marker

How To Make
It’s an easy Upcycled Spring project which you can make in a short time. Anyway, follow these easy steps on how to do DIY Spring Tin Bucket Vase:
1. Paint the tin bucket with white paint as a base. Let it dry. Make sure it was cleaned before you paint it.
2 .Draw a wavy line that split the board into two parts.
2. Paint the second coat with blue. Let it dry.
3. Tie a little bow or knot around the painted tin bucket on the upper part with thick jute rope.
4. Last part is to write “Spring is here flowers are blooming” on the middle of the bucket by using black acrylic paint. Done!

A great recycling project for Spring decor. Get some fresh flowers or faux flowers to fill up the bucket. Arrange it in a appealing way and try to use big ball type of flowers or pom pom flowers like my favorite hydrangeas, and then you can mix it with single flowers. It’s a bucket vase which need a big volume of flowers to fill it up nicely.
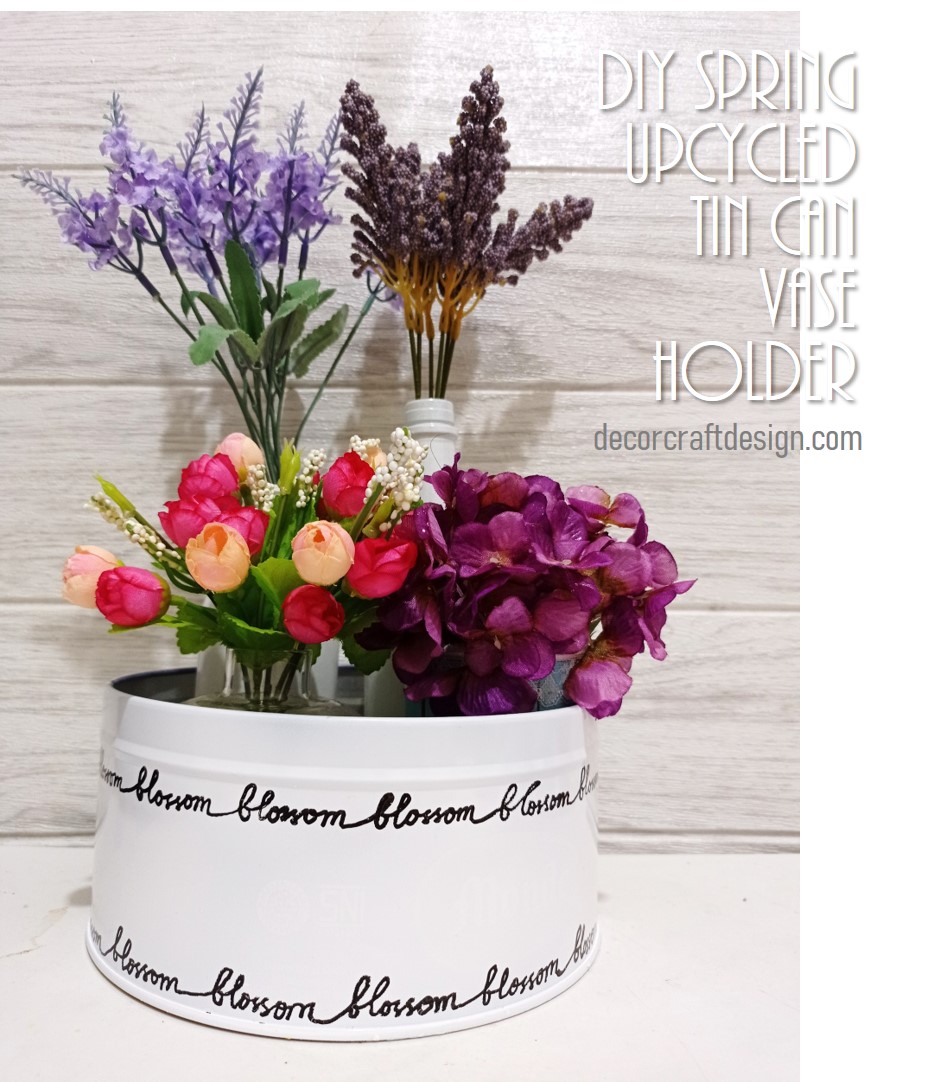
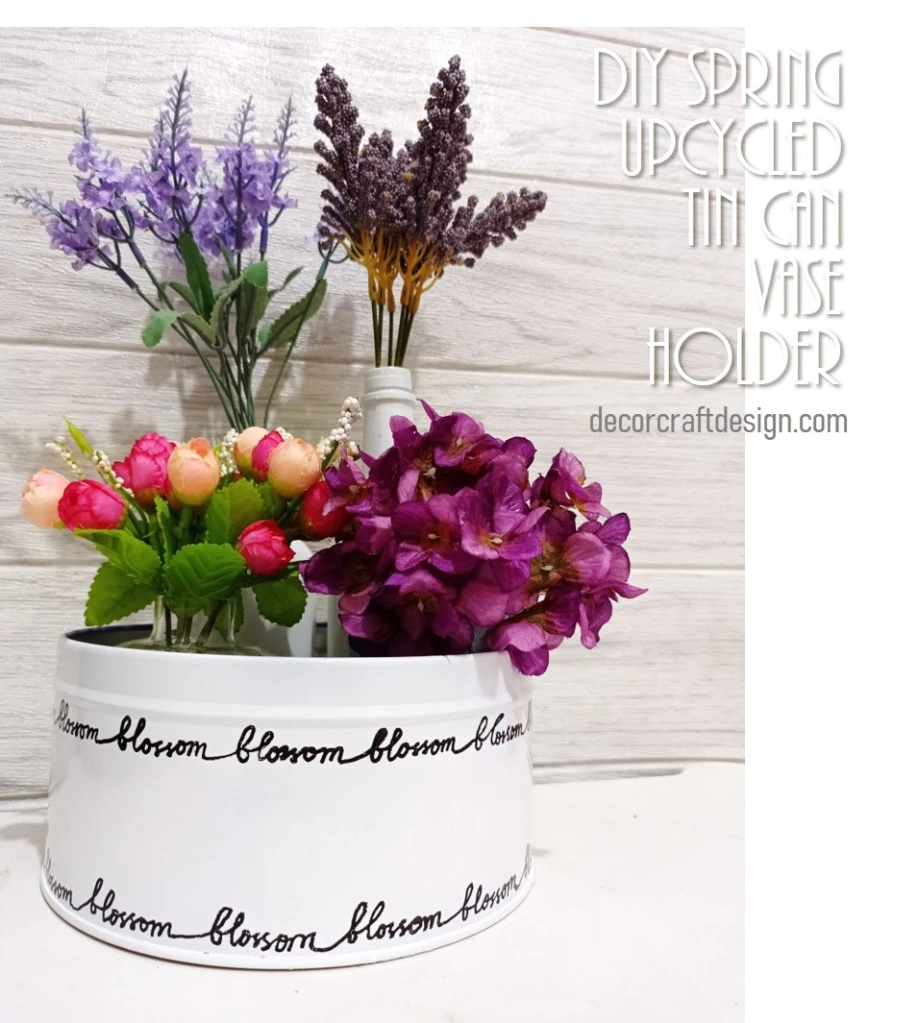
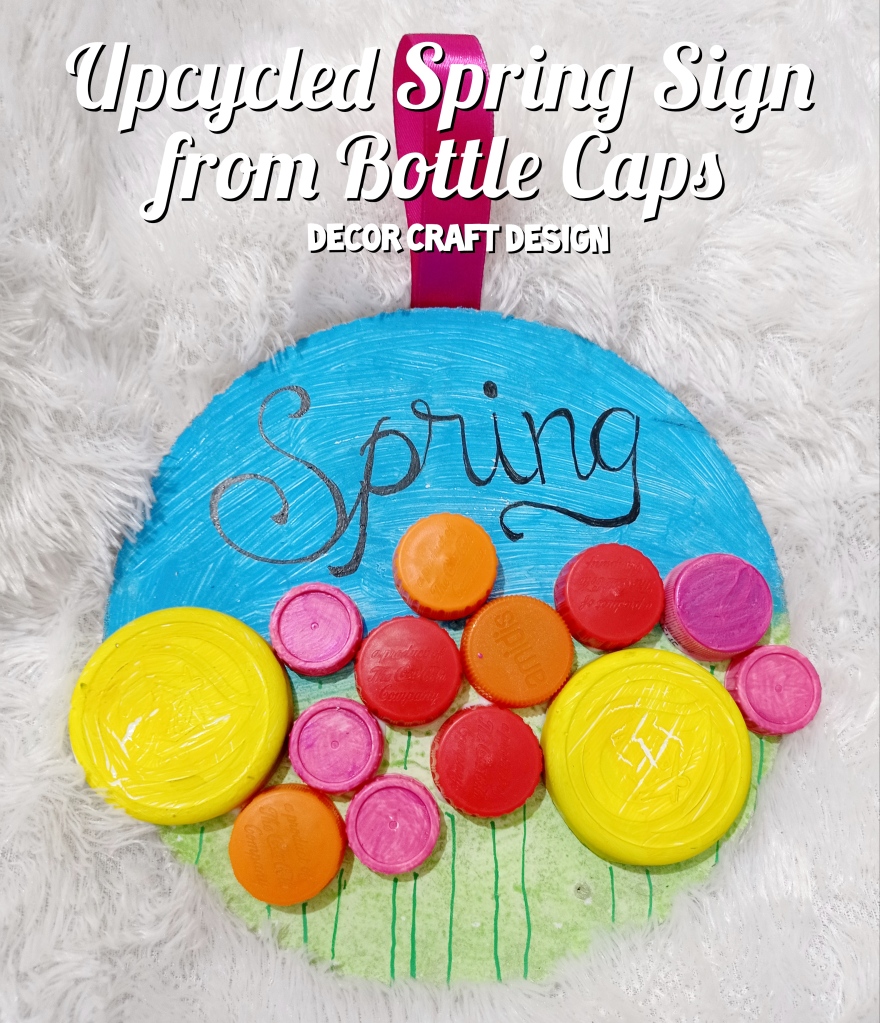
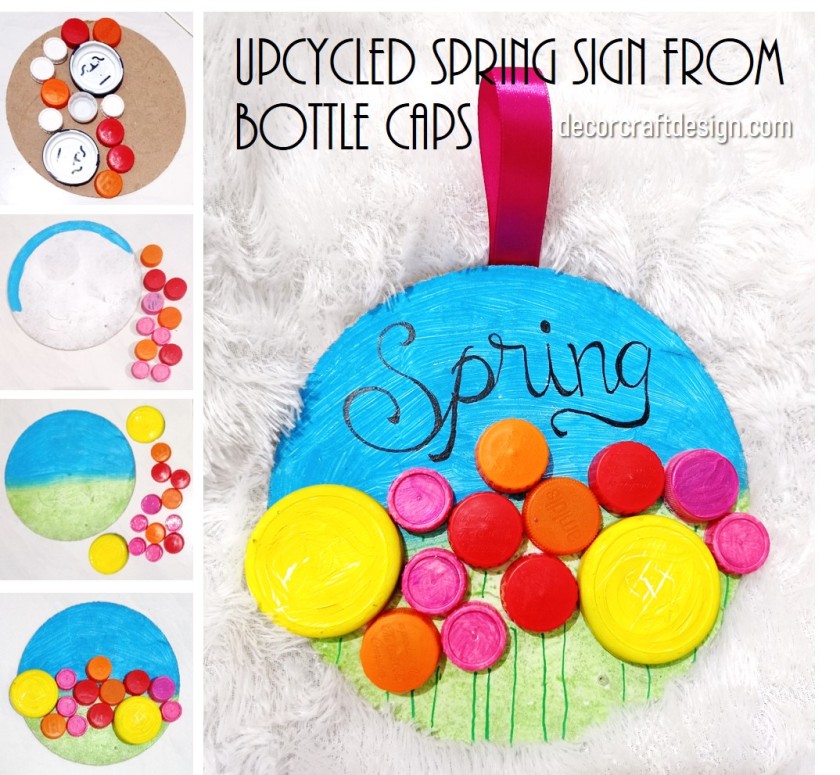
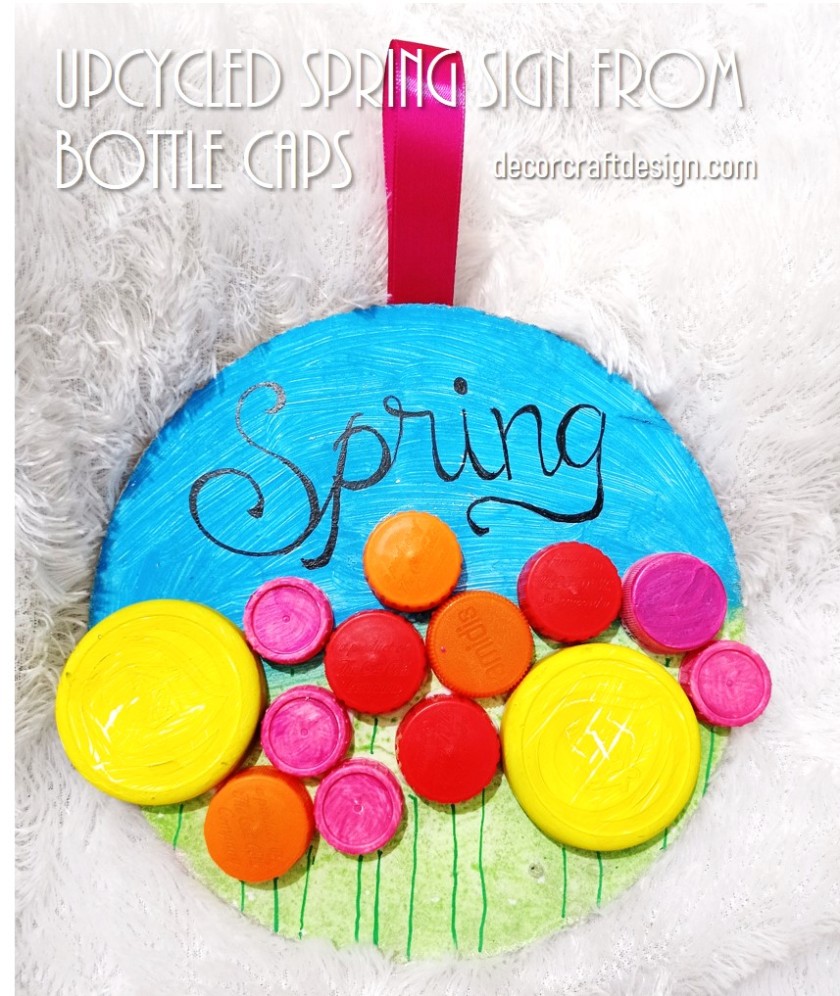
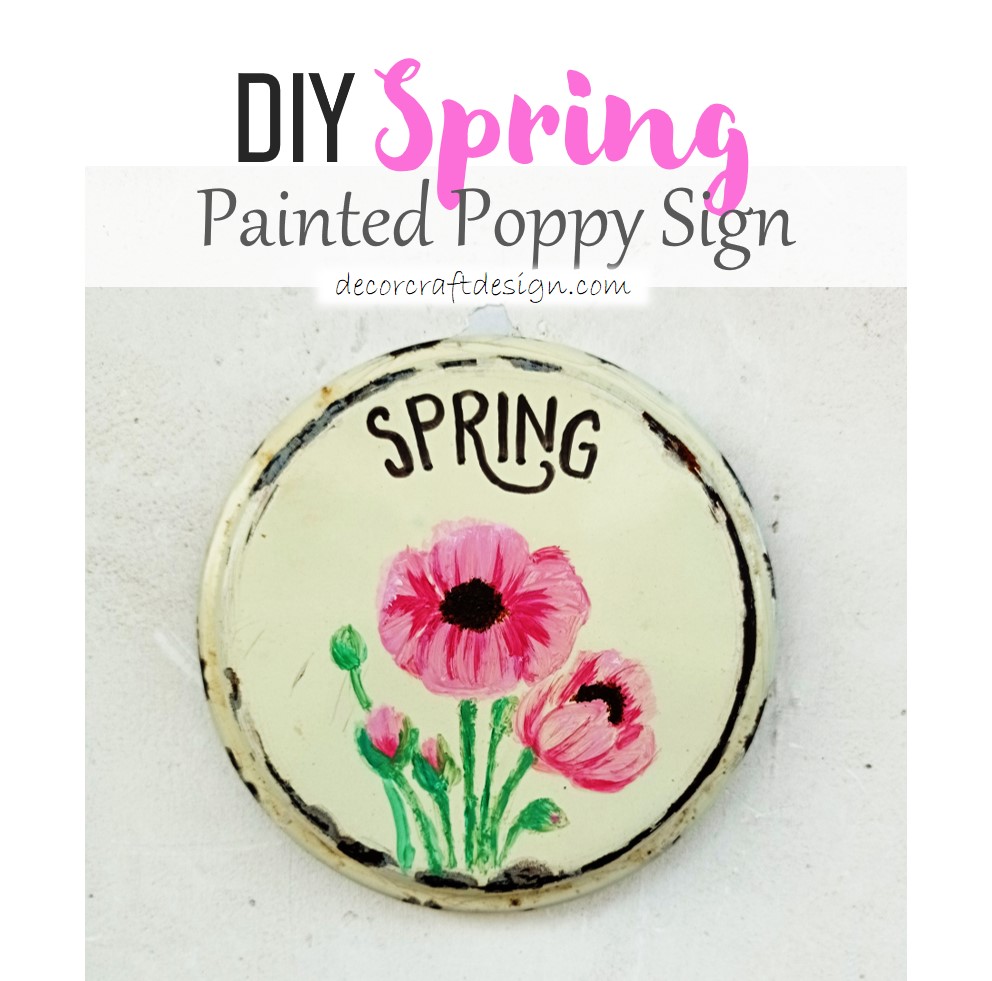
This Upcycled Spring Sign from Bottle Caps project is my contribution to The Sustainable Craft Challenge Blog Hop hosted by Julie with her beautiful blog Sum of Their Stories. It’s a craft challenge with a sustainable principle behind it (upcycling, recycling, repurposing), which comes in different theme for every month. This month, the theme is “Typography” and February challenge was “Heart” and I made DIY Valentine Heart Sign Upcycled Pistachio Shells. Last month, the theme was “Vibrant” and I made Upcycled Spring Sign from Bottle Caps. I love to be part of this challenge as I love to upcycle things into something new, beautiful and useful.
Now, let’s see what other blogger’s projects!
| Sum of their Stories | Turn left over alphabet stickers into fun bookmarks |
| Our Good Life | Quick and Easy Handlettering on Glass |
| Purple Hues and Me | GriffWorld Travel Map Letters DIY |
| Decor Craft Design | DIY Spring Tin Bucket Vase |
| Sew Crafty Crochet | Rae Dunn Inspired Cutlery Placemat |
| Christine’s Crafts | Dementia Fidget Blanket – Easy to Make and Adapt! |
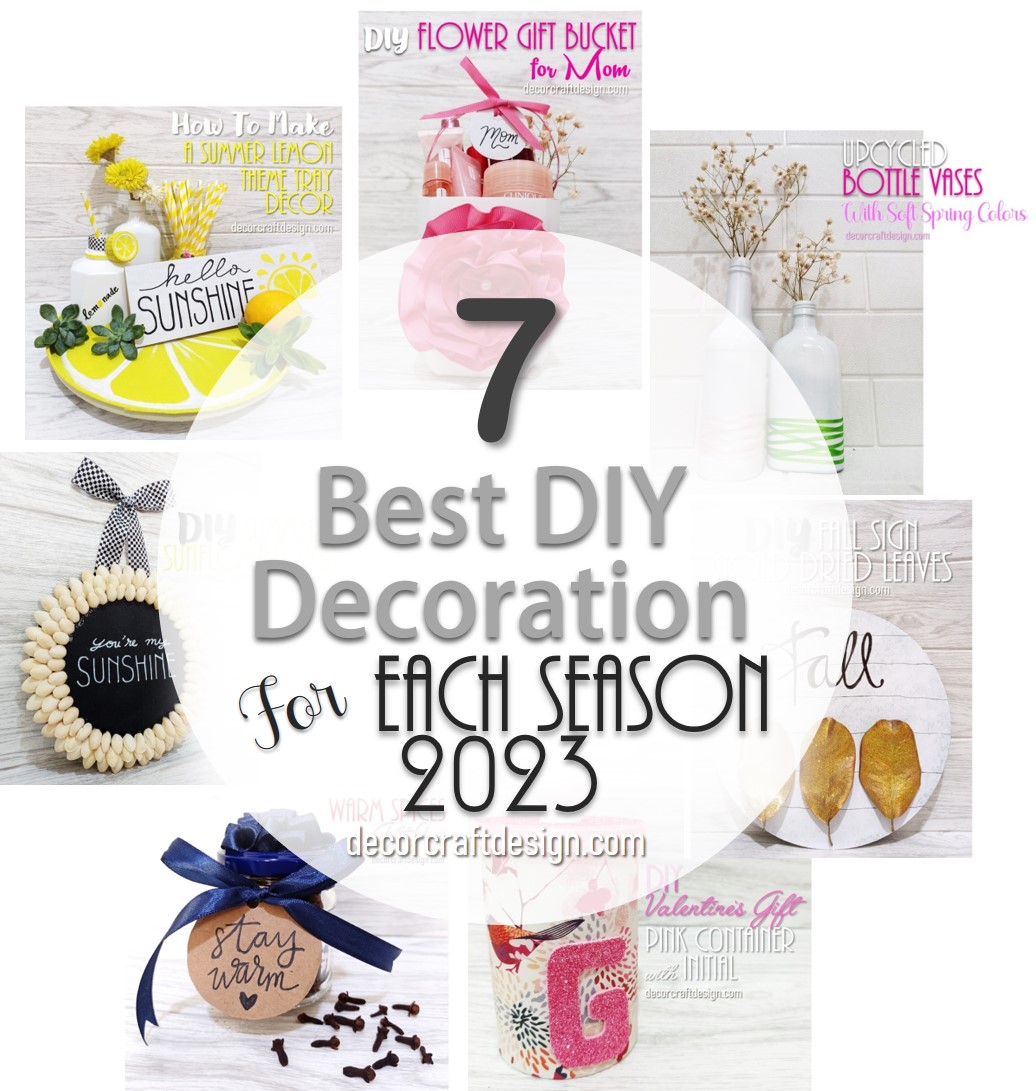
For more of my future Spring posts, please follow me! And if you wanted to add my creations to your Pinterest boards, please follow me on Pinterest! Also find me on Instagram and Twitter!
For creative fellow bloggers, don’t forget to join “You’re The Star” Blog Hop, Happiness Is Homemade Link Party and Home Matters Linky! Link your inspiring posts (anything, from recipes, home decor, DIYs, crafts, family, health to gardening) every Monday and Sunday. Get a change to be featured! I’m one of the co-host of You’re The Star blog hop for Creative Week and Happiness Is Homemade; I will choose the creative posts to be featured on Creative Features week and on Happiness Is Homemade. Please come and join the party!