DIY Fall White Maple Tree

Couple of days ago I made a fall maple tree out of a cardboard. I painted it with fall colors of a real maple tree. Then I thought to my self, why don’t I paint the other side of the cardboard maple tree with clean white. A different look from real fall colors maple tree to modern minimalist maple tree. I added the word fall to give a contrast, white against black. So this maple tree become two sided decoration with two different style to match your fall theme.

Picture86

Things To Prepared

Things to prepared for making this upcycle diy fall maple tree are:

  • Cardboard
  • White spray paint
  • Black marker
  • Glue

How To Make

Easy steps to turn cardboard into a pretty fall maple tree decoration are:

  1. Draw different shapes of the maple tree on cardboard and then cut it. Make 7 sheets, less or more sheets depend on the thickness of the cardboard you have. Make it thick enough to be able to stand.
  2. Glue all sheets together to form a fall maple tree that able to stand. Let it dry.
  3. Since, I made this maple tree before, so I just use the other side of the glued cardboard maple tree for this project.
  4. Paint the cardboard maple tree with white spray paint. Let it dry.
  5. Draw the word Fall with black maker. Let it dry.
  6. Your diy fall maple tree is finished!

Picture84

Very easy and cost you almost nothing to make this fall diy. And the good thing is you can have two styles of maple tree, so you could have two different style for your fall decor. It would look fabulous if you combine it with the rest of your modern minimalist or rustic farmhouse fall decoration collection. A fall maple tree from cardboard, great upcycle fall diy project for your spare time.

For more of my future Welcoming Fall season posts, please follow me! And if you wanted to add my creations to your Pinterest boards, please follow me on Pinterest! Also find me on Instagram and Twitter!

Picture85

Pinterest-iconImage result for instagram buttonRelated image

Join The Coffee Blog Tour and Win Coffee Themed Giveaway!!! And for creative fellow bloggers, don’t forget to join “You’re The Star” Blog Hop ! Link your inspiring posts every Monday and get a change to be featured! Starting June 2019, I will be co-hosting the blog hop and would love to see you there! Join and share the news!

See you!

Fall for creativity!

Mel

DIY Fall (In Love) Sign With Ice Sticks

DIY Fall In Love Sign With Ice Sticks

Finally I get to make something out of the ice sticks by line them up like wooden fences. I love the texture of the ice sticks and the rounded ends. Especially if it’s painted in white. It’s already beautiful as it is plain, but I was using it as a Fall Sign. I made it into “Fall in love” as the sentiment with a gold leaf with a nearly love shape. To me, gold is the greatest color you can get from autumn season, the most luxury color.

Let’s go through things that I had to make this “Fall In Love” Sign :

  • Ice cream sticks
  • Glue (for wood)
  • White Spray Paint
  • Black acrylic Paint
  • Gold acrylic Paint
  • Paint Brush

Picture17

Not too many materials that you need, mostly only paints, so it won’t cost you too much for this fall decoration. And guess what? It’s also so easy to make, just need a steady hand to make it happen because you need to paint a little bit, but you can always substitute it  with other technique that you mastered.

  1. Line up the ice sticks vertically with the length of around 3 x one ice stick length.
  2. Glue some structure ice sticks to the ice sticks – row in horizontal like making a fence. Let it dry.
  3. Spray paint the ice sticks blank sign with white spray paint.
  4. Draw a sketch of the sentiment and the leaf with pencil.
  5. Paint the leaf with gold acrylic paint.
  6. Paint the sentiment with black acrylic paint.
  7. Your Fall in love sign is finished!

Picture18

Super easy and fast to do, super easy material to find, super easy in your pocket too. And the result is super lovely. This Fall In Love sign can be great addition to your fall decorations.

Pinterest-icon

Picture19

See you again!

Fall in Creativity!

Mel

Picture20


I entered challenges:

  1. That’s Crafty! – Forever Autumn
  2. Make My Monday – Autumn / Fall Colours
  3. Crafty Sentiments – Fall Colors
  4. International Art & Soul – Nature
  5. A Vintage Journey – Back To Nature
  6. A Bit More Time To Craft – Anything Goes
  7. Everybody Art Challenge – Anything Goes
  8. Crafty Creations – Anything Goes


DIY Fall Leaves Painted Bottles Set In White And Gold

DIY Fall Leaves Painted Bottles Set In White And Gold

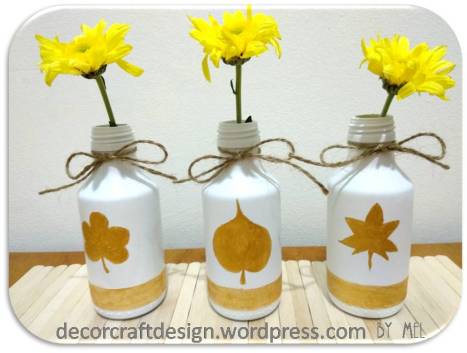
I have been keeping bunch of bottles from drinks, oil and etc. Wished that I could do something nice to them. Until now I got the mood to paint small bottles that I got from vitamin C drink. These are small bottles, so I made it into set of three painted bottles. Since now is time to welcome the fall season, I thought I could give some inspiring diy fall painted bottles that can be used as for flower vases or just decorations.

When I think of fall, I mostly think of leaves, all the falling leaves with different shapes and colors. And when you see it from the distance, you can see shimmering gold everywhere and it’s so beautiful. That is why I chose to paint the bottles in white and gold with three different shapes of leaves.

What do you need to do this fall leaves painted bottles set and how to make it in white and gold? Well, you need :

  • Three small glass bottles (choose used bottles, save money!)
  • White spray paint
  • Gold Acrylic paint
  • Paint Brush
  • Organic rope

Picture14

I was starting with:

  1. Clean the used bottles and dry it thoroughly.
  2. Spray paint the three bottles with white paint. Let it dry.
  3. Sketch each bottle with the desired leaf shape by using pencil.
  4. Paint the leaves carefully in three bottles with gold acrylic paint. Let it dry.
  5. The bottles that I used has texture around the bottom of it, so painted the texture too in gold acrylic to make it pop and add more character. Let it dry.
  6. Tie each bottle with organic rope to give an earthy feeling of fall season.
  7. Your set of fall leaves painted bottles in white and gold is ready!
  8. Get some yellow or orange chrysantemum or gerbera or any other single flower that you like and put one to each bottle and you can use the set as fall centerpiece. I was looking for yellow or orange gerbera but I can only found chrysantemum, so that’s it.

Picture15

Pinterest-icon

It is so simple, does not take too much work and cheap. It’s a great diy of short time preparation for fall decorations. It’s great for fall centerpiece with sophisticated white and gold if you have dinner party in this upcoming autumn season.

Picture16


See you all!

Set off to creativity season!

Mel


I entered challenges for this diy fall leaves painted bottles to:

  1. Stinkin’ Inkers – Leaves are falling
  2. That’s Crafty – Forever autumn challenge
  3. International Art And Soul – Use a non-craft item on your project / Recycle
  4. Shopping Our Stash – Upcycle
  5. A Vintage Journey – Back To Nature
  6. Dare 2 B Artzy – Your favorite color
  7. Colour Crazy Challenge – Anything goes
  8. Rhedds Creative Spirit – Anything goes
  9. Altered Eclectics – September anything goes
  10. Crafty Creations – Anything goes


Decoupage White Pedestal Tray With Vintage Blue Roses – DIY

Decoupage White Pedestal Tray With Vintage Blue Roses – DIY

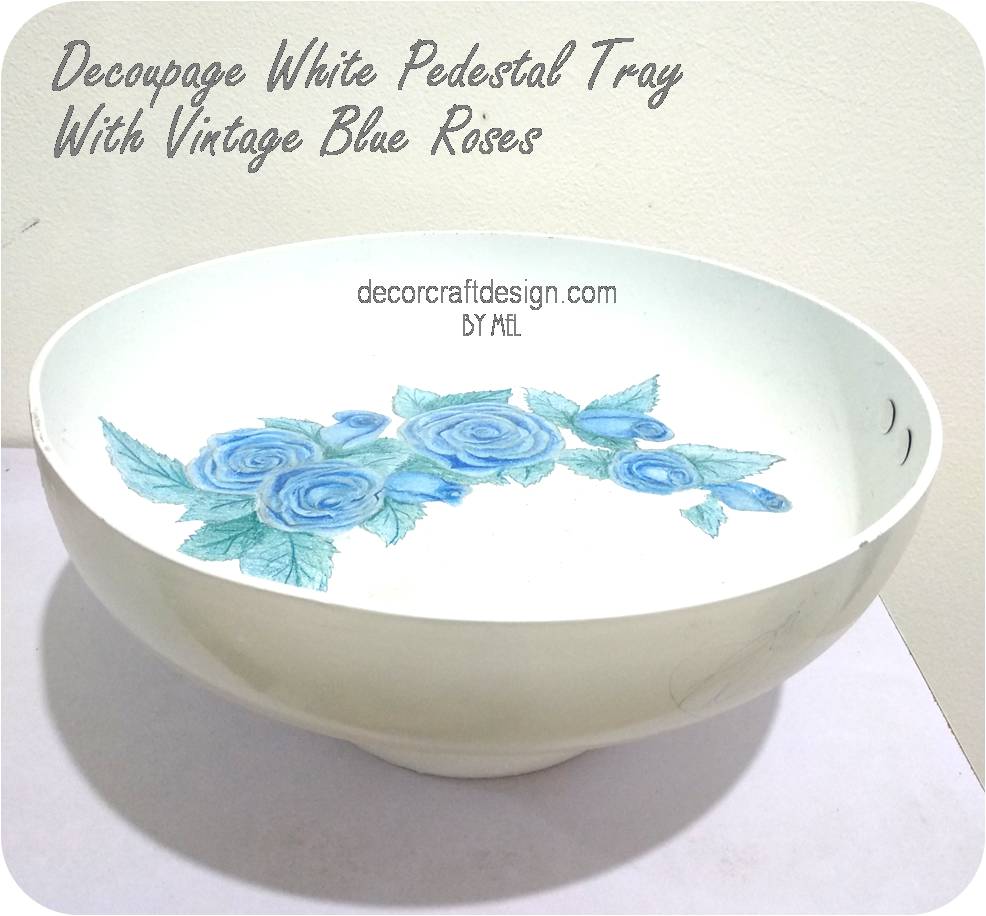
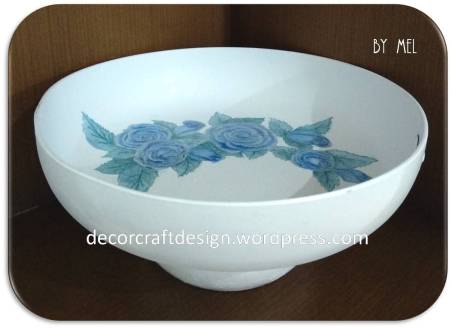
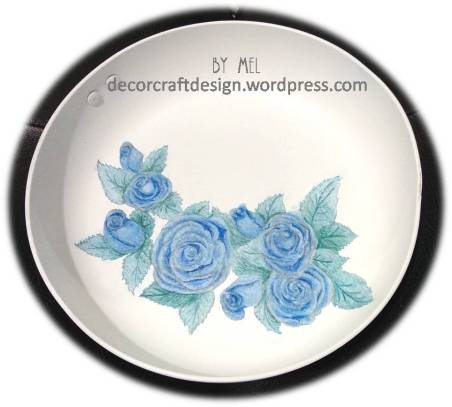
This project is a marriage between my two old projects of Vintage Blue Roses Artwork and Pedestal Tray from DIY Upcycle Frying Pan. I made a plain white pedestal tray, that gives a porcelain look, but then I think it would look prettier if I paint something on the tray. Instead of painting something, I decided to use my vintage blue roses art paper as a decoupage to my pedestal tray.

It is a very simple steps to do for decoupage project. You just need :

  • A decoupage object ( I used my vintage blue roses artwork )
  • Scissors
  • Glue
  • Clear Paint
  • Brush
  • Subject to decoupage with (mine is diy white pedestal tray)

Picture56

And those simple steps to decoupage my pedestal tray are:

  1. Cut-out the decoupage object carefully.
  2. Clean thoroughly the surface of the tray area that wanted to be decoupaged. Make sure it is clean and dry.
  3. Glue cut out decoupage object onto the tray of the area you wanted. Let it dry.
  4. Paint the decoupage area with clear paint evenly. Let it dry.
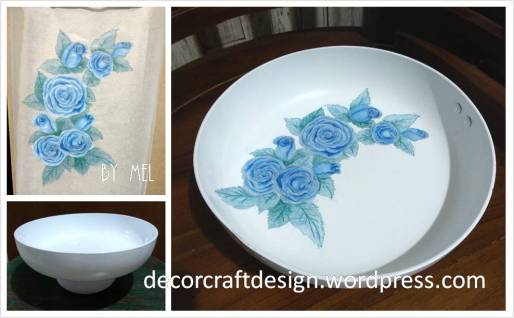
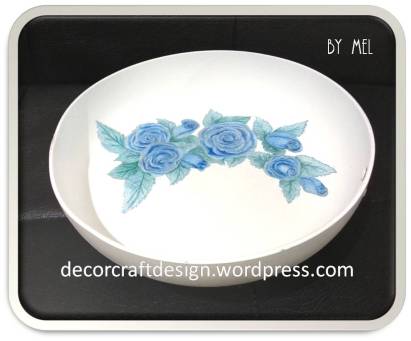
  5. Finished! I got myself a pretty pedestal tray with decoupage vintage blue roses.

Picture58

Very easy and pleasy project! You can substitute the decoupage object with anything else, like paper wrap, tissue napkin as the favorite one, map, drawings, etc. Mine is using my vintage blue roses artwork on sketch paper, because I love to choose my own object and sketch paper is very thin, so it is a great media for decoupage project.


Picture59

I’m happy with this project, I got myself a new pedestal tray with vintage blue roses that i love so much. Hope you inspired to make your own project and follow me for more DIYs!

Make your creativity happens!

See you next month!

Mel

Picture57

I enclosed my project to these wonderful challenge sites:


DIY Decorated Wall Hanger From Popsicle Stick

DIY Decorated Wall Hanger From Popsicle Stick


Hello again! Just a couple of days ago I have posted on how to make an organic rope ornaments. Today I’m going to use the ornaments to decorate a wall hanger from popsicle stick. Yes, more functional home decoration piece idea from ice cream / popsicle stick. Two other popsicle projects I have posted were painted coaster and a flower pot holder.

What do you need to DIY wall hanger from popsicle stick?

Picture18

How to make a decorated wall hanger from popsicle stick?

  1. Apply glue (for wood) evenly along the popsicle stick surface. Glue the ice cream sticks to each other one by one. Watch for the same length and width.
  2. Line them all up until around 25 cm / 10 inches (or twice more the length of the popsicle stick).
  3. Let it sit for a while until the glue dry and become a firm wooden panel.
  4. Spray or apply white color paint to all the surfaces of the popsicle stick panel. Let it dry.
  5. Tide around each both mini hangers with organic rope and secure it with wood glue. Let it dry. The purpose is to give more space from the hanger to the popsicle panel so that the nail / screw can fit in the hanger.
  6. Glue the both tided hangers on to the back of popsicle hanger. Let it dry.
  7. Glue three of drawer knobs onto the front of popsicle hanger. Let it dry.
  8. Glue the organic rope ornaments (“love” word and love shape) onto the front of popsicle hanger by the upper area. Let it dry. You can use other ornaments you like, just be creative with it.
  9. Your diy wall hanger from popsicle stick is ready! Now you can hang it.

Picture20

It’s not a difficult project to do, easy, open wide for more creative twists and most important thing is you don’t need heavy tools to make a creation from a wooden material. Usually you have to saw some wooden plank to do this kind of project, but this… everything is glued, isn’t that great? Even your little ones can help you with this project.

Picture19

Well, I hope my idea (without tools) this time will move you to make one of your own diy home decoration. Good luck!

Don’t forget to follow me for more DIYs, arts, crafts, designs.

I entered various challenges on these wonderful sites below:

  1. The Male Room – Include An Unexpected Item
  2. Altered Eclectics – Anything Goes
  3. Creative Moments – Anything Goes
  4. The Corrosive Challenge Blog – Anything Goes
  5. 4 Crafty Chicks – Anything Goes
  6. Crafty Creations – Anything Goes


See you soon!

Pop your creativity!

Mel

Style Your Desk With White

I know I have posted so many colors as an accent to style your desk in daily color mood, from black, blue, yellow, green, red, purple to pink. But I couldn’t help myself to style my desk with another color, which is white. Salute to white!

Style Your Desk With White

White – Be purely sophisticated

I know I have posted so many colors as an accent to style your desk in daily color mood, from black, blue, yellow, green, red, purple to pink. But I couldn’t help myself to style my desk with another color, which is white.

As on all my previous post on style your desk, I keep reminding you to use 60-30-10 rule. And for this white color styling, I use 60% dominant color of grey (the wall), the 30% secondary color of white (table, wall shelve, all decorations, etc) and the 10% accent of black (the blackboard). Since the grey wall is not solid but combination of white and black washed, so basically 90% of dominant and secondary color became white and the accent color became black (mainly the blackboard).

Picture23

I still did not change any main items like all other color styling, but the look now have changed because of the color proportion. I ode this to white as the most natural and easiest color to work with. And the best thing from white is that it looks sophisticated, pure up scale and shows that the owner must be a clean person! Salute to white!

So, I have shown you 8 different colors accent that even though only takes a view small items to make it stand out, the accent color really give each color-style a different personality, don’t you think? Now, it is your turn to style your desk according to your color mood.

Pinterest-icon

Picture25

Well, if you are going to style your desk with your color picked, which one is your favorite color or which one do you think is the best color style? Please share your thoughts on below comments.

Got to go… see you!

Live to be creative!

Mel