Reminder Board For Him and For Her

Reminder Board For Him and For Her

I guess girls are accustomed to reminder boards, but what about guys? Some may keep their reminder in their journal or mostly in their mobile phone or tablet or computer. While girls are likely to have their reminder board somewhere in their home, could be in the fridge, kitchen, working desk, or in all of the places. I guess girls are relatively more organized and a better planner than guys? Plus, girls love and good at multi tasking, that’s why we love reminder board, a silent secretary! So, I guess a guy needs the silent secretary too, to keep them reminded while they sitting on their working desk at home, especially things that you wanted your hubby to remember.

When I was thinking about making a reminder board for my husband and myself, I came across this idea of making it into reminder board for him and for her. Because there’s no way guys wanna let you hang a pretty colorful with flowery or glittery reminder board on his working desk. He already nice enough to let you hang a reminder board for him. So, I try to think of something manly, neutral and of course easy and save cost! No need complicated and expensive reminder board for God’s sake, you will end up torturing the board with pins and tapes anyway. Then I came out with the plan to make For Him Board as if it’s a black wooden board and For Her Board is something also black but with colorful accent.

Picture48

This is a list of materials that I used to make 2 reminder boards, 1 for him and 1 for me:

  • Styrofoam board 40 x 60 cm
  • Black paper thick 40 x 60 cm
  • Colorful stripes wrapping paper
  • Brown card
  • Glue

Picture50

How did make the 2 reminder boards?

  1. I cut the styrofoam board into 2 sizes, 40 cm x 40 cm and 20 cm x 40 cm. The big one for him and the smaller one for her. So, you got 2 shapes, square and rectangle.
  2. I did the same to the black thick paper.
  3. Then glue the black thick paper to each size of the board.
  4. For Him Board, I continued with cutting the brown card to make the 2 cm wide frame of the board. I even cut the mitered corner for the frame to imitate wooden look. Then I glued all 4 sides carefully. Finished!
  5. Now For Her Board, I find the wrapping paper looks like some kind of awnings, so I made it look like a front of a store. I cut 2 long stripes wrapping paper to cover the long sides of the rectangle. Glue it and finished!

Picture49

Very easy and does not cost you much money to make reminder board for him and for her. I like to leave it as minimalist as I could, so that later I can fill it up in maximum and in a changeable charming way.

Picture51

Okay then, it’s time for you to help your hubby to remind himself and yourself about important things by making this pair of reminder boards for him and for her.

Note: I play with Love To Craft

See you!

Reminder: Be Creative!

Mel

A Blooming Rose Bouquet Card For Her

A Blooming Roses Bouquet Card For Her


May is ending… . It is time to think of her. To show her how much you love her. How much you wanna give her. To express your feelings to her. Told her how beautiful she is and how much she meant for you. While flowers are still blooming and the love birds are still singing. Love is everywhere, shades of pink permeates. Give her a bouquet of love, but something tangible so she can touch it, hold it and keep it.

Yes, so I made this Blooming Roses Bouquet card. Very simple, no need glue or scissors or other complicated stuff for making cards. I only used:

  • Pencil – to make the sketches.
  • White A5 paper – the card media.
  • Watercolor Pencil – for coloring ( I like using watercolor pencil instead of classic color pencil, because it is softer and you can easily turn it into watercolor.)
  • Drawing Pen – for sentiment writing.

Picture45

That’s it. This is a one layer card which made from freehand drawing and then colored. I choose roses bouquet because I love it! Why? Roses are amazingly beautiful, so elegant, romantic and it makes a perfect round for a bouquet. I only use one color pink which then I play with its gradation. Pink for her and pink is love, well, usually.

I’m a bit addicted to card challenges or any other challeges. So, this card is collaboration of many challenges I participated in.

  1. My Time To Craft – “Circles”
  2. CAS(E) this Sketch!
  3. Fusion Card Challenge 
  4. Crafty Friends – The Letter “B” is for… (Blooming, Bouquet)
  5. Less Is More – One Layer Card

Picture46

I like to incorporate many challenges into one card, make it more challenging. But I can only make for 5 challenges, they have made their rules.

So, I hope this Blooming Roses Bouquet Card for Her will inspire you to make or to give something to your loved one, which is Her. And particularly, I wanna show you how easy it is to make a card only from sketches or maybe only one simple sketch.

Picture47


Okay, see you again next month!

C is for Creative!

Mel

DIY Birthday Card – Sweet 17th

DIY Birthday Card – Sweet 17th

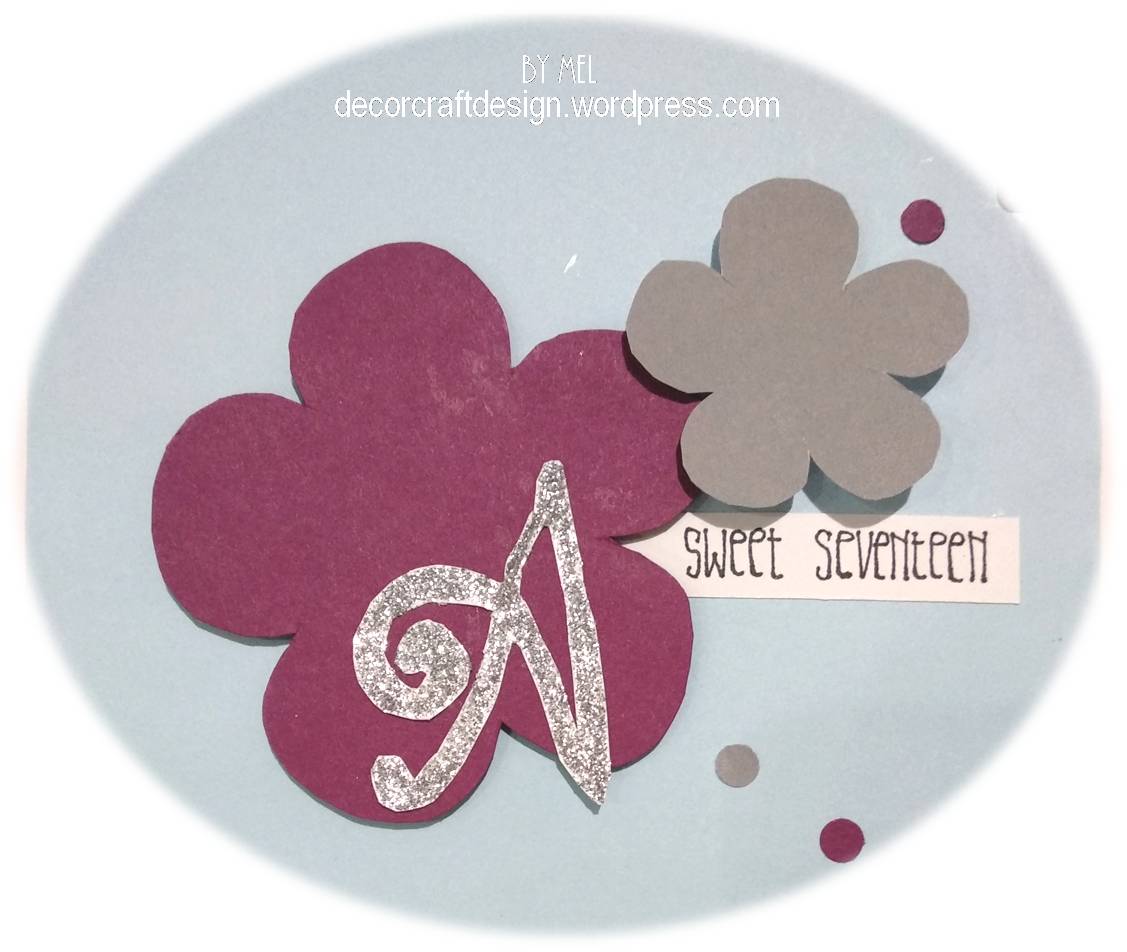
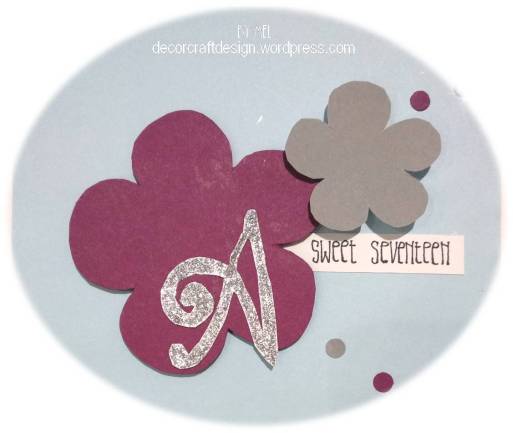
I’m a bit addicted to this card challenges I found. So, I decided to make my niece a DIY birthday card by following some challenges. It’s tough, but I managed to incorporate it all together into one card which is still regarding my niece’s 17th birthday.

Below are the challenges that I incorporated it with my concept:

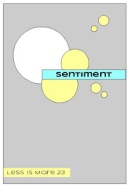
1. Less is more. I love this blog, because I also believe in “less is more”, always keep it simple. I made flowers because 17 is where a girl is blooming. I gave a letter “A” because her initial is A. And it became the word “A sweet seventeen”

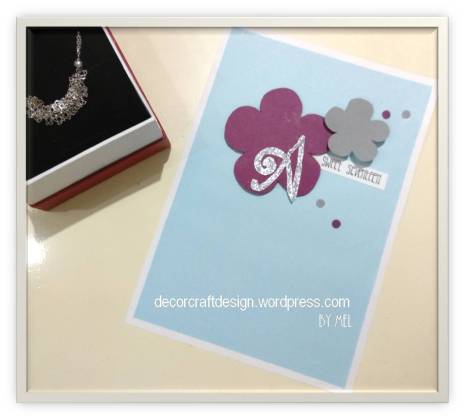
2. CC&S Challenge Blog. The colour restriction makes it harder. I use the glitter for the letter A because I’m giving her a silver bracelet as a gift. Besides, it’s a sweet seventeen!
3. Mix It Up Challenge Blog. I made the flowers pop up with foam tape.
Anything Goes + optional twist of Emboss Resist
4. Everybody Art Challenge. The challenge is Flower!
5. Get Creative Challenge. The challenge is Lots of Flowers!
Picture32
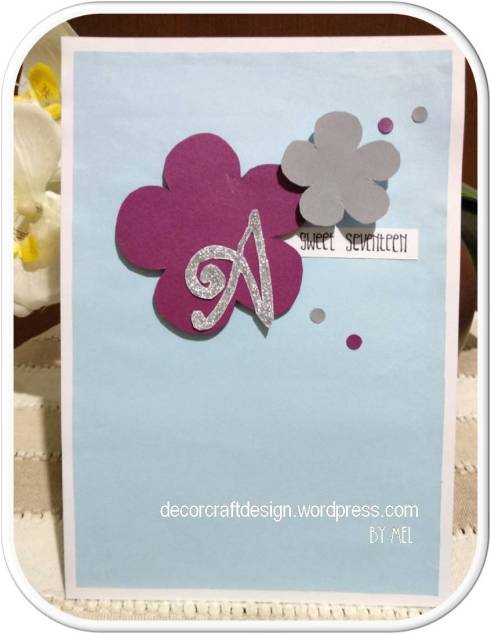
It is a very simple DIY birthday card, I made everything by hands, so it’s totally handmade card. I hope my niece would love it, of course along with the gift to.
 Picture33
So glad I found all of those challenge sites, really inspires and motivates you to do more. Hope I can find more challenge sites, maybe for decor or something else to do with design.
 Picture34
Explore your creativity!
See you!
Mel

DIY Mother’s Day Card – Hydrangea

DIY Mother’s Day Card – Hydrangea

I guess I’m a little obsessed with hydrangea, making a card of beautiful hydrangea? Well, for my defense, my mom also loves hydrangea. She’s the one who introduced me to hydrangea when I was a little. So, I made this card especially for her, my awesome mom!

Picture30

I used my watercolour pencil to paint the 2 little hydrangea and the background hydrangea. I cut the two hydrangea and stick it to the card with foam tape. For the “mom” writing, I cut the word “mom” out of a glittered paper. Yeah, hand cut! The rest you can guess yourself, very easy!

Picture31

But above all those description, I was only following the composition from Less is More card challenge and incorporate it with challenge from Sketch Saturday.

Here is sketch #512:

I was intrigued to do a card with certain boundaries. So, I also registered my diy mother’s card – hydrangea to Crafty Gals CornerMix It Up Challenge Blog, My Time To Craft Challenge Blog and Everybody Art Challenge. These are all wonderful sites where you can share your crafting skills and creativity.
Picture28
I hope my diy mother’s day card with the hydrangea may inspire you for the upcoming mother’s day.
Picture29
Let’s get creative!
See you very soon!
Mel

DIY ELEGANT GIFT BOX WITH FLOWERS ORNAMENTS

DIY ELEGANT GIFT BOX WITH FLOWERS ORNAMENTS

When you got yourself a plain black or white or other plain color gift box, you may need more ornaments to make it more personal. Or, when you wanted to make some diy gift box to someone special, you don’t need to make it from scratch. Just have yourself a plain gift box and then decorated yourself. It would be appeared as a handmade gift box that is personalised, surely would bring more meaning to it.

I gave you these 2 gift boxes I made from plain black box that I bought on sale. I wanted an elegant look, so i choose laces and ribbon roses (that i made myself) as a main ornaments. And for additional ornaments, I used some small buttons, organza ribbon, satin ribbon, gift wrap paper and some artificial leaves. To get more elegant look, I used pastel color scheme and ivory as the dominant color. So, it is not that difficult to make DIY elegant gift box with flower ornaments.

 Picture1

Make your own arrangement as you like and choose the color scheme you desired. Don’t forget to equipped yourself with some adhesive, scissors and glue gun. I hope my DIY elegant gift box with flower ornaments would inspire you to come out with more beautiful gift box decorations.

Have a creative diy!

See you!

Mel