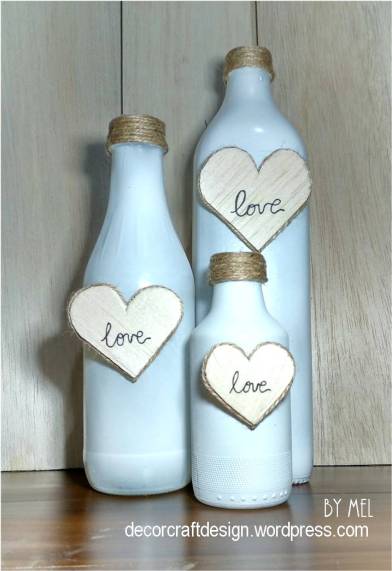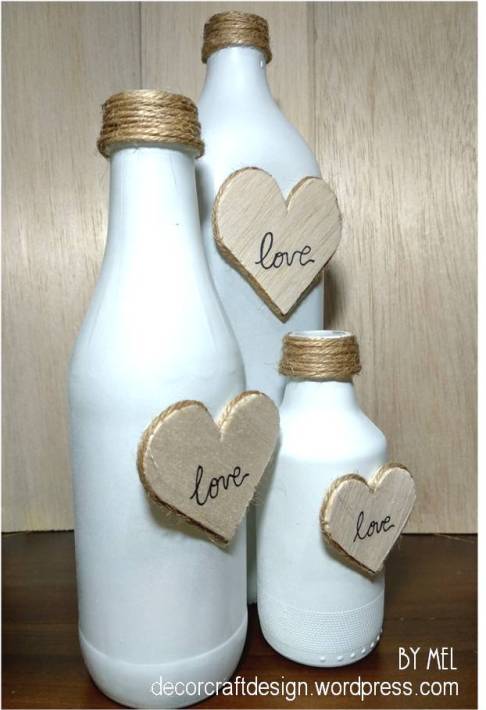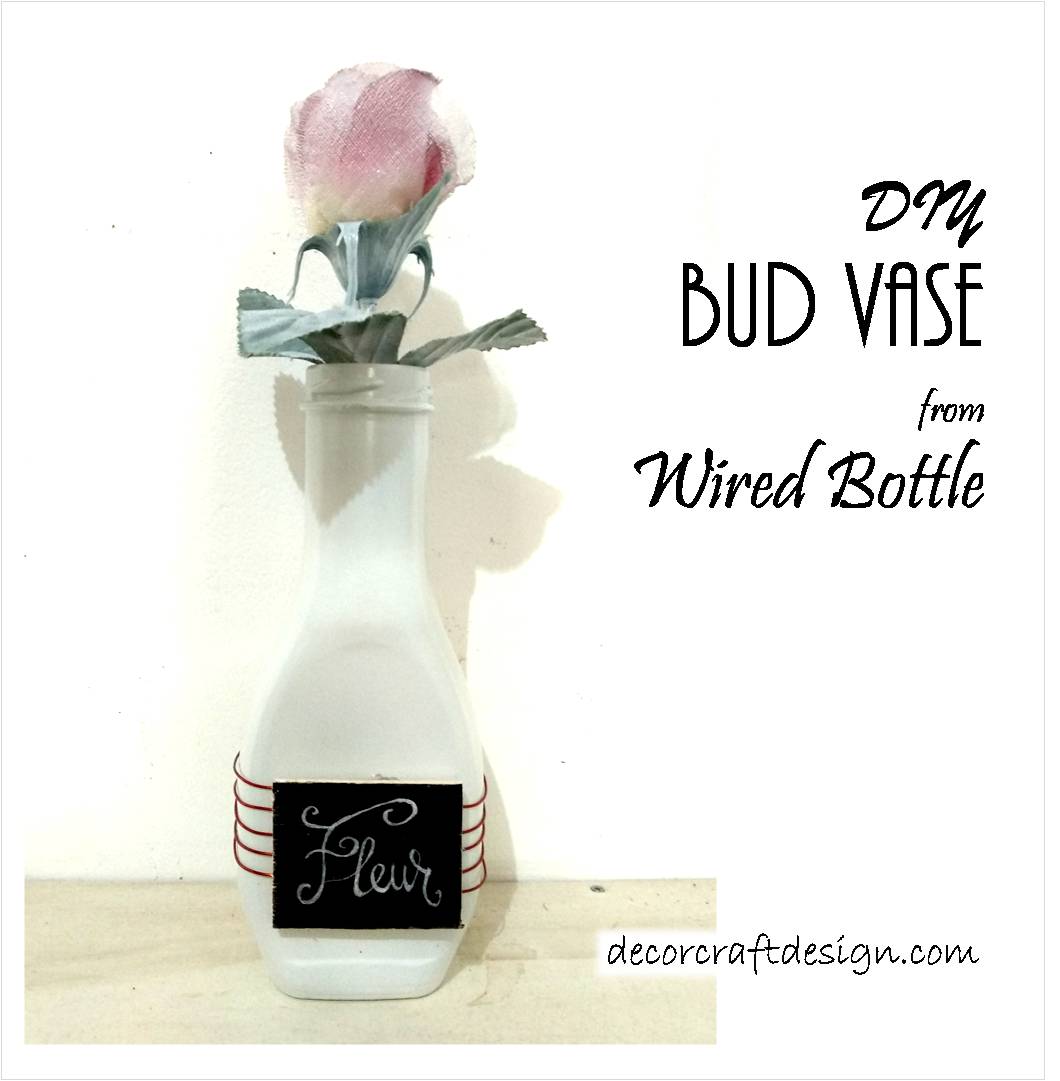
If you get tired with plain white painted bottles for your home decoration; you should try my idea by adding some wire to it. Yes, I made a DIY Bud Vase from Wired Bottle. It’s an easy upcycling project, especially if you already familiar with painted bottles project. I just give a little different look by adding some wire and mini sign to the painted bottle vase. I used a copper color for wire and give a little sign with the word “Fleur” on it; which in French means “flower”. A little fancy touch to the sentiment may upgrade your wired bottle vase to looking more sophisticated. Interested? Let’s find out the tutorial that I have prepared for you.

Things To Prepare
It’s a simple painted bottle project, I just added a little twist with the wire. So, basically you need an empty bottle with a bit flat shape and some copper wire. The rest are easy supplies to get.
- Clean bottle with a bit flat shape
- White spray paint
- Copper wire
- Balsa wood plank
- Black marker
- White gelly roll pen
- Hot glue

How To Make
This wired bottle for flower vase is actually very easy recycling project. Easy and less steps to make. Let me explain how I make my DIY bud vase from wired bottle.
- Spray paint the bottle with white and leave it dry.
- Make a little sign by using painted black balsa wooden plank and write the word “Fleur” with white gelly roll pen. I painted the balsa sign by simply using a black marker.
- Take the copper wire and tilt it five times around the bottle and then secure it with hot glue.g
- Finish it with the fleur sign on top of the glued wire while it still hot.
- I made over a plastic rose to make it looking better and relate to the white wired vase; by spray painted it with white. I sprayed it effortless, so I can get the shade of the original color.

DIY painted bottle is one of the good way to recycle your glass bottles you got from sauce, wine, etc. This upcycling project turn your trash into a beautiful home decoration that you can be proud of, since it’s coming from your crafty hands. Isn’t that great?! This bud vase can be use to decorate your home in different seasons too, winter or spring, thanks to the white clean look. Well, I hope you get inspired by this wired bottle I’ve made. Have a creative thoughts to make your own creation!
For more of my future Spring posts, please follow me! And if you wanted to add my creations to your Pinterest boards, please follow me on Pinterest! Also find me on Instagram and Twitter!
![]()

![]()

For creative fellow bloggers, don’t forget to join “You’re The Star” Blog Hop ! Link your inspiring posts every Monday and get a change to be featured! I’m one of the co-host of the blog hop for Creative Week and will choose the creative posts to be featured on Creative Features week. Please come and join the blog hop and I would love to see you there! Join and share the news!
See you!
Mark your creativity!
Mel