DIY Happy Easter Day Bunting

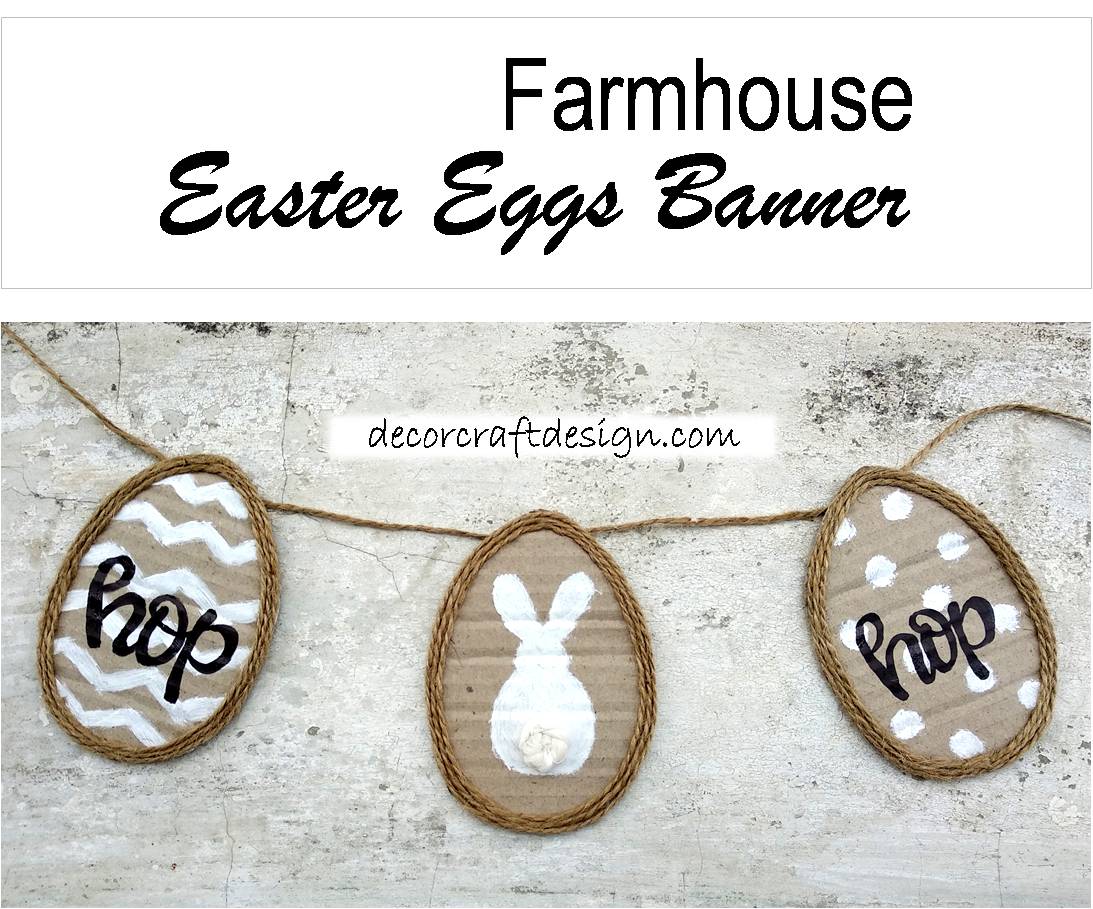
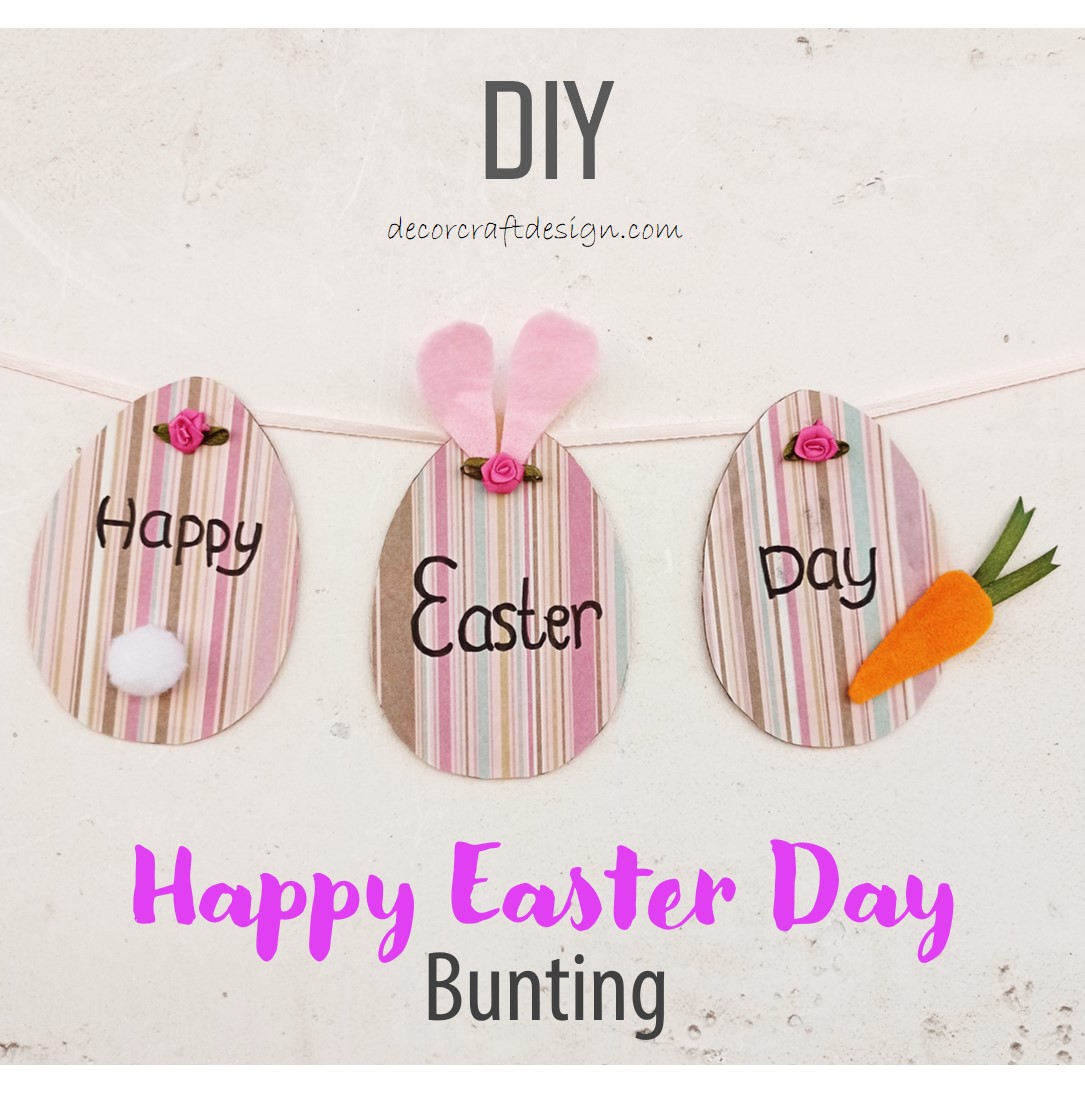
A bunting for every occasion is surely can light up the festivity. That is why I share this DIY Happy Easter Day Bunting with a shade of Easter eggs and a bunny. It’s super easy, easy and cheap supplies and of course super cute. This Easter eggs and bunny bunting would be a great DIY Easter projects you can make with your kids and have fun with.

Things To Prepare

I made this Happy Easter Day bunting from my scraps collection. From the felt, cardboard to the ribbon; everything came from my stash. Anyway, let’s see what are the short list supplies used to make thisDIY Happy Easter Day Bunting :

  • cardboard
  • wrapping paper (pink shades with lines pattern)
  • pink ribbon flower ornament
  • pink felt
  • Orange felt
  • Green ribbon
  • white pom pom
  • Pink ribbon
  • Black marker
  • Glue

How To Make

This bunny bunting is easy to make, so you can make lots of them into longer Easter bunting as you need. All you have to do is gather all the supplies which I’ve mentioned above and follow these easy steps on how to make DIY Happy Easter Day Bunting :

1 . First, determine the size of cardboard eggs that you want. Mine is around 4inches tall. Cut the cardboard into shapes of an egg. I made 3 eggs.

2. Prepare the ornaments that you need like a white pom-pom for a bunny’s tail, carrot from orange felt and green ribbon, and last the bunny’s ears from pink felt.

3 .Back to the cardboard eggs for the Easter banner, paste them with patterned paper. Mine is pink lines. Let it dry.

4. Write Happy, Easter, Day on each Easter egg by using black marker.

5. Now, paste one by one the bunny’s ears, bunny’s tail, bunny’s carrot and finish it off with the pink flower ribbon on each egg.

6. Last but not least is to paste a pink ribbon rope to hang those Easter eggs into Easter bunting.

Super easy and quick Easter eggs and bunny bunting for Happy Easter Day. Be creative and playful with the egg’s patterned-paper. Have fun with the Easter bunting!

For more of my future Easter andSpring posts, please follow me! And if you wanted to add my creations to your Pinterest boards, please follow me on Pinterest! Also find me on Instagram and Twitter!

For creative fellow bloggers, don’t forget to join You’re The Star” Blog Hop, Happiness Is Homemade Link Party and Home Matters Linky! Link your inspiring posts (anything, from recipes, home decor, DIYs, crafts, family, health to gardening) every Monday and Sunday. Get a change to be featured! I’m one of the co-host of You’re The Star blog hop for Creative Week and Happiness Is Homemade; I will choose the creative posts to be featured on Creative Features week and on Happiness Is Homemade. Please come and join the blog hop and I would love to see you there! Please join and share the news!

DIY Farmhouse Easter Eggs Banner

Easter is next month and you probably are looking for some inspirations to decorate your home with Easter theme. Well, you are in the right place, because I’m sharing my DIY Farmhouse Easter Eggs Banner with tutorial. It’s an easy Easter diy which using scraps at home; yes, cardboard box to be re-used. And it looks great for farmhouse style with the rustic simple look. But you can always substitute the cardboard with wooden panel if you wanted a fancier look or something more durable. But if you always look for new look every year for your home Easter decor, you can simply re-cycling your old cardboard box for the Easter bunting.

Picture87

Things To Prepared

These are some supplies to make this easy Easter eggs banner with farmhouse look. I guess every crafter would have these supplies at home. Th`ose are simple things you can find at every craft supplies store.

Picture84

How To Make

Easy steps are all required to make this farmhouse banner of Easter Eggs with bunny. Just follow these easy tutorial with the pictures above!

  1. Cut your cardboard into a shape of eggs and make it three with dimension of around 3 inches x 4.5 inches.
  2. Paint one cardboard egg with zig zag pattern, the second one with polka dot pattern and the third one with bunny’s silhouette from behind by using white paint. It doesn’t have to be very sleek to get a rustic look. Let it dry.
  3. Glue the burlap rope circling the Easter egg three times. Adding more farmhouse style to the Easter eggs banner. Let it dry.
  4. Write the word “Hop” on the zig zag and polka dot pattern eggs by using a black marker.
  5. Twirl the cotton rope to form a fluffy ball of tail and glue it to the bunny on the cardboard egg banner.
  6. Install some burlap rope at the back of the three cardboard eggs with the Easter bunny in the middle and secure it with adhesive tape. And your Easter banner is ready!

Picture86

Frugal DIY and easy project to do for Easter decor. It’s a great farmhouse Easter decoration where you can hang the Easter eggs banner on your mantel, door or even at your kitchen cabinet. Just look for some cardboard at your storage and get other supplies to make this Farmhouse Easter Eggs Banner!

For more of my future Easter and Spring posts, please follow me! And if you wanted to add my creations to your Pinterest boards, please follow me on Pinterest! Also find me on Instagram and Twitter!

Pinterest-iconImage result for instagram buttonRelated image

Picture85

For creative fellow bloggers, don’t forget to join “You’re The Star” Blog Hop ! Link your inspiring posts every Monday and get a change to be featured! I’m one of the co-host of the blog hop for Creative Week and will choose the creative posts to be featured on Creative Features week. Please come and join the blog hop and I would love to see you there! Join and share the news!

See you!

Hop Hop and still be creative!

Mel